AWS Notes: EC2 - II
This is part 2 of my EC2 notes. I’m continuing from where I left off in the first part.
IP Addresses in EC2
When I create an EC2 instance, it gets IP addresses. There are three types I need to remember: private IP, public IP, and Elastic IP.
| IP Type | Changes? | Cost | Use Case |
|---|---|---|---|
| Private IP | Changes on stop/start | Free | Internal communication between instances |
| Public IP | Changes on stop/start | Free | Internet access, SSH, downloads |
| Elastic IP | Stays the same | Free if attached to running instance, costs money if unused | Fixed IP for DNS, keep IP after restart |
Private IP
Every instance gets a private IP automatically. This one:
- Stays with the instance while it’s running
- Only works inside the VPC (can’t reach it from internet)
- Good for instances talking to each other (like web server to database)
- Changes when you stop and start the instance
Used for internal communication between instances (e.g., web server to database).
Public IP
A public IP lets your instance talk to the internet. This one:
- Gets assigned automatically when you launch (if you enable it)
- Changes every time you stop and start the instance
- Only works if your instance is in a public subnet
- Free, but not permanent
I use this when I need to SSH into my instance or when the instance needs to download stuff from the internet.
You can turn off public IP when launching if you don’t need internet access. More secure for instances that only talk to other instances.
Elastic IP
Elastic IP is a static public IP that doesn’t change. This one:
- Stays the same even when you stop and start the instance
- You can move it from one instance to another
The money part:
- Free if it’s attached to a running instance
- Costs money (about $0.005 per hour) if it’s not attached or attached to a stopped instance
Important: You can attach multiple Elastic IPs to one instance, but only the first one is free. If you attach 3 Elastic IPs to a running instance, the first one is free, but the other 2 will cost you money (about $0.005 per hour each). Same goes for unused Elastic IPs - they cost money too.
I use this when:
- My app needs a fixed IP (like DNS pointing to it)
- I want to keep the same IP after restarting
- I need to quickly move the IP to a different instance
How to create and use:
- Go to EC2 → Network & Security → Elastic IPs → Allocate Elastic IP address
- Click Allocate
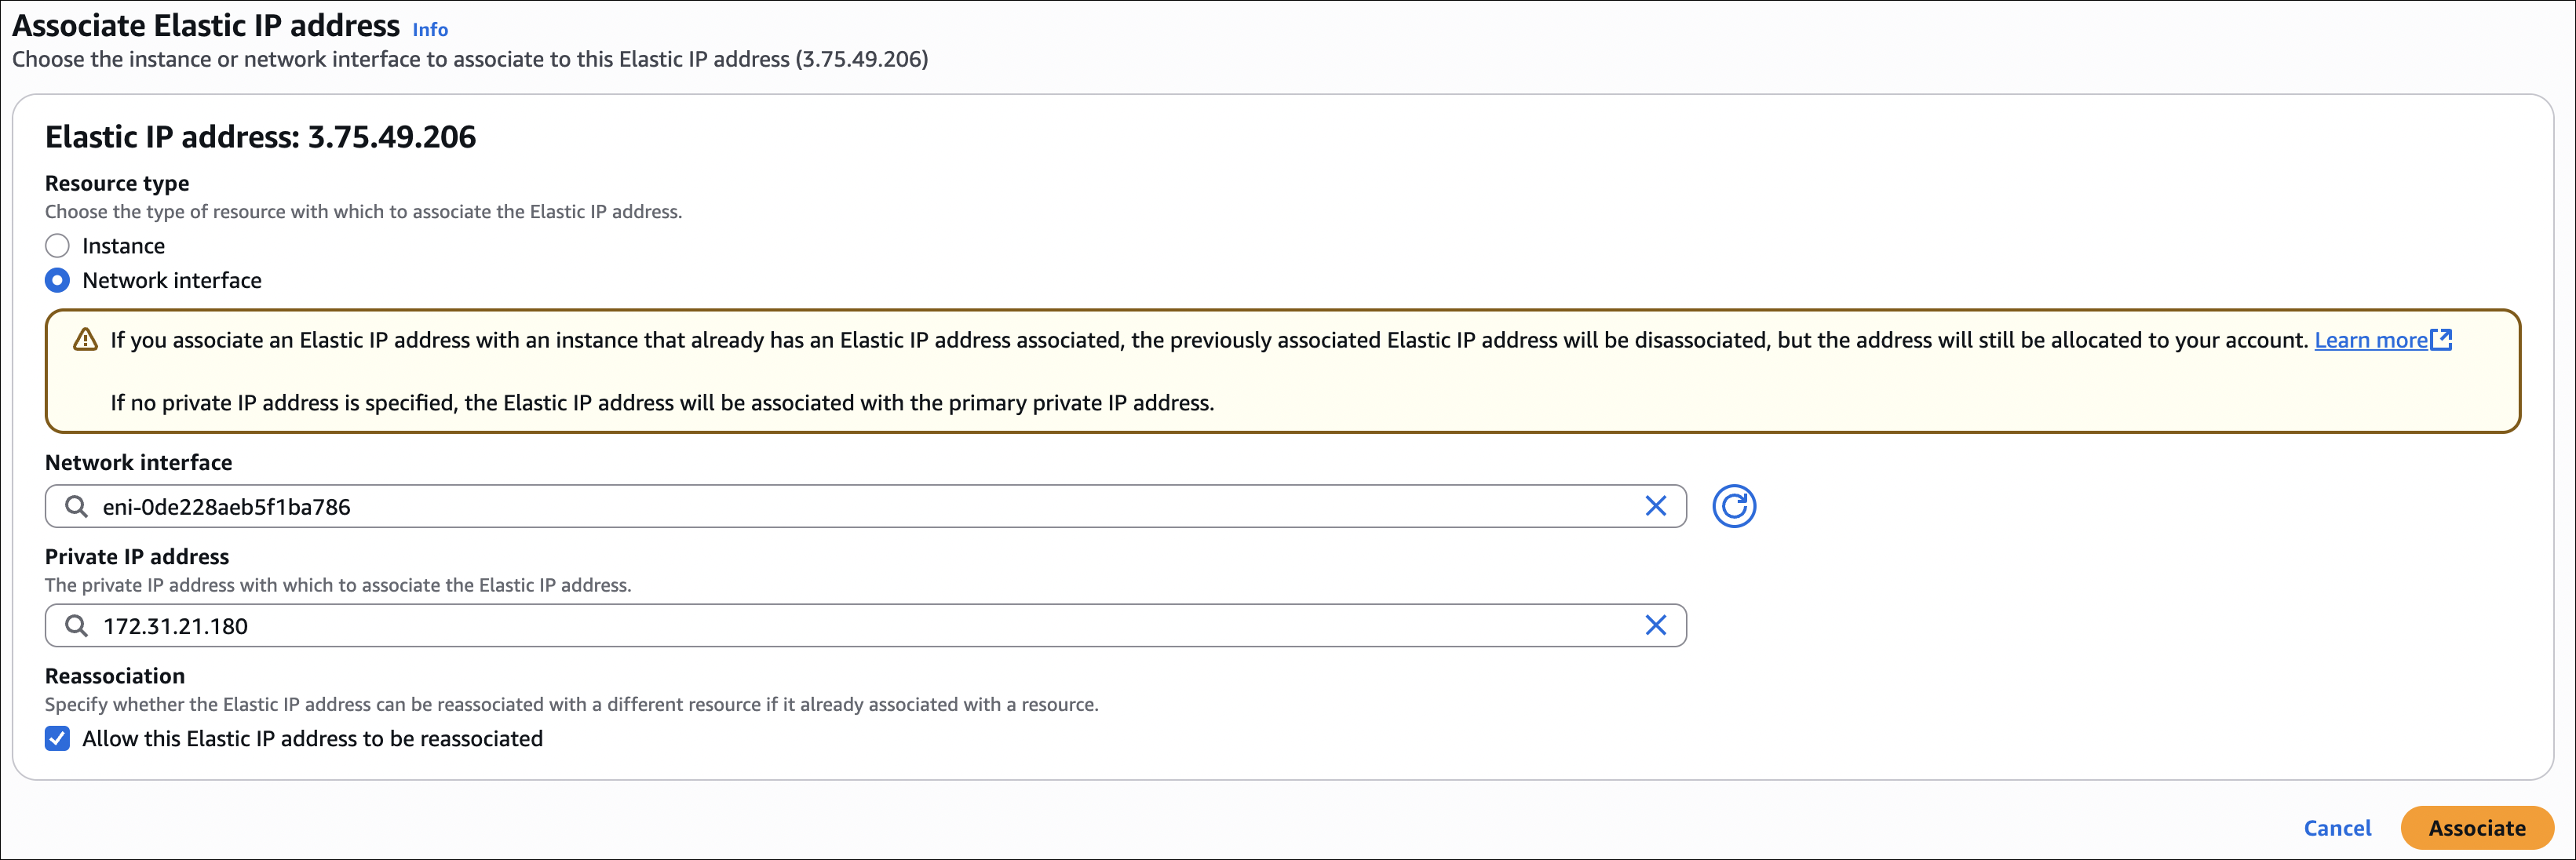
- Select the Elastic IP → Actions → Associate Elastic IP address
- Choose Resource type:
- Instance: Most common - attach to instance’s primary network interface
- Network interface: For multiple ENIs or unattached ENIs
- Depending on what you chose:
- If you picked Instance: Select your instance from the list
- If you picked Network interface: Select the network interface from the list
- If the Elastic IP is already attached to another resource, you’ll see a checkbox: “Allow this Elastic IP address to be reassociated”. Check this if you want to move it directly to the new resource (it will automatically disassociate from the old one). If you don’t check it, you need to disassociate it first.
- Click Associate
Important notes:
- If you attach a new Elastic IP to an instance that already has one, the old one gets disassociated automatically. But it stays allocated to your account, so check your Elastic IPs list and release the ones you’re not using to avoid charges.
- If your instance has multiple private IPs, you can choose which one to associate the Elastic IP with. If you don’t pick one, it goes to the primary private IP (which is usually fine).
When I don’t need it anymore: If it’s attached to an instance, I first disassociate it. Then I select the Elastic IP → Actions → Release Elastic IP addresses → Release. This stops the charges.
Placement Groups
Placement groups control where AWS places your EC2 instances. Sometimes you want instances close together (for low latency), sometimes you want them far apart (for fault tolerance). That’s what placement groups are for.
For detailed information, check the AWS documentation on placement strategies.
| Placement Group Type | Use Case | Limits | Availability Zones |
|---|---|---|---|
| Cluster | Low latency, high throughput (HPC, big data) | Same AZ only, same instance type recommended | Single AZ |
| Partition | Large distributed systems (HDFS, Cassandra) | Up to 7 partitions per AZ, 100s of instances | Multiple AZs |
| Spread | Critical applications, small clusters | Max 7 instances per AZ, not for Dedicated Instances | Multiple AZs |
How to create and use:

- Create the placement group first:
- Go to EC2 → Network & Security → Placement Groups → Create placement group
- Give it a name
- Choose the placement strategy: Cluster, Partition, or Spread
- Click Create placement group
- When launching an instance:
- During instance launch, go to Advanced details section (scroll down)
- Find Placement group dropdown
- Select your placement group from the list
- For Partition placement groups, you can also specify a partition number (1-7) if you want a specific partition
That’s it. The instance will be placed according to the placement group strategy you chose.

Cluster Placement Group
Puts all instances in the same AZ, close together for low latency and high throughput.
When to use: HPC, big data (Hadoop, Spark), applications needing maximum network performance.
Key points:
- Single AZ only
- Same instance type recommended (can mix but not recommended)
- Launch all instances at once to avoid capacity errors
- Up to 10 Gbps network speed (with enhanced networking)
- Not supported: T2 (burstable), Mac1, M7i-flex
Partition Placement Group
Divides instances into logical partitions. Each partition is isolated - if one fails, others keep running.
When to use: Large distributed systems (HDFS, HBase, Cassandra), hundreds of instances needing logical separation.
Key points:
- Up to 7 partitions per AZ
- Can span multiple AZs (unlike Cluster)
- Can mix instance types
- Can add instances to existing partitions
- With Dedicated Instances: max 2 partitions (instead of 7)
- Can specify partition number (1-7) when launching
Spread Placement Group
Each instance on completely separate hardware (own rack). Maximum fault tolerance.
When to use: Critical applications, small clusters (2-3 instances), production databases (primary/standby).
Key points:
- Max 7 instances per AZ (21 total in 3 AZs)
- Can span multiple AZs
- Can mix instance types
- Not supported for Dedicated Instances
- If one instance fails, others unaffected
Which One Should I Use?
Cluster → Need maximum performance and low latency? Same AZ is fine? Use Cluster.
Partition → Have a big distributed system? Need logical separation? Use Partition.
Spread → Have a small critical application? Need maximum fault tolerance? Use Spread.
Things to remember:
- Can’t change placement group type after creating it
- Can’t move instances between placement groups
- If capacity error: try launching all at once (Cluster) or try again later
- Placement groups are free
- Capacity Reservations: work with Cluster, don’t work with Partition/Spread
Elastic Network Interface (ENI)
An ENI is a virtual network interface that you can attach to an EC2 instance. Think of it as a network card for your instance.
What it does:
- Gives your instance network connectivity
- Can have multiple IP addresses (primary + secondary)
- Can attach/detach from instances (even while running)
- Can move between instances in the same AZ
When to use it:
- Need multiple IP addresses on one instance
- Want to separate network traffic (management vs data)
- Building high availability setups (failover scenarios)
- Network appliances (firewalls, load balancers)
- Need to keep the same IP when replacing an instance
Key concepts:
Primary ENI:
- Created automatically when you launch an instance
- Can’t detach it (it’s tied to the instance)
- Gets deleted when instance terminates
- Has the primary private IP
Secondary ENI:
- You create and attach manually
- Can attach/detach while instance is running
- Can move to different instances (same AZ)
- Useful for multiple IPs or network separation
ENI features:
- Multiple IPs: One primary private IP, can add secondary private IPs
- Elastic IP: Can attach Elastic IP to any private IP on the ENI
- Security Groups: Each ENI can have its own security group
- MAC Address: Each ENI has a unique MAC address
- Source/Dest Check: Enabled by default (instance must be source/dest of traffic). Disable for NAT instances, load balancers, etc.
Limits:
- Instance type determines max ENIs per instance (check AWS docs)
- Example: t3.micro = 2 ENIs, m5.large = 3 ENIs, c5n.18xlarge = 15 ENIs
- Max 50 secondary private IPs per ENI (varies by instance type)
How to use:
- Create an ENI:
- Go to EC2 → Network & Security → Network Interfaces → Create network interface
- Select subnet, security group, private IP (optional)
- Click Create network interface
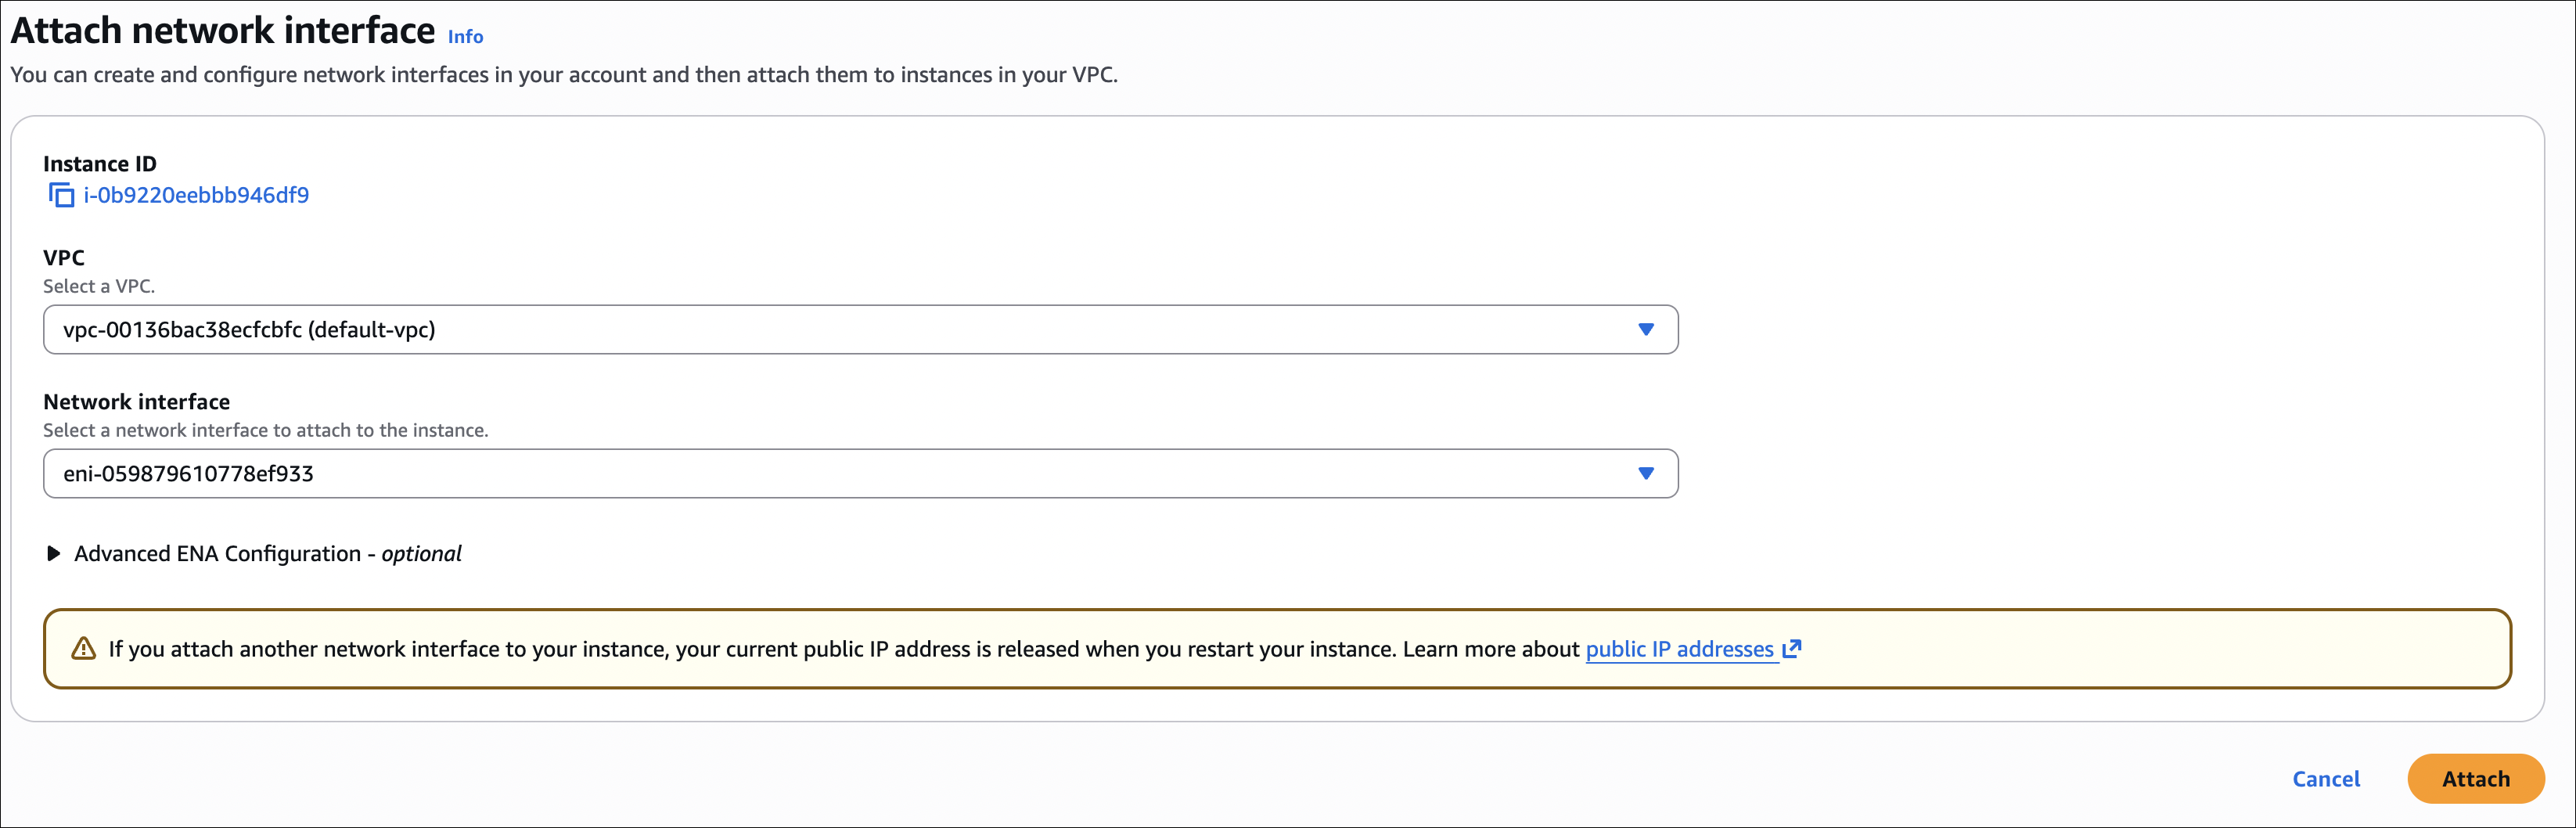
- Attach to instance:
- Select ENI → Actions → Attach
- Choose instance (must be in same AZ)
- Can attach while instance is running
- Detach from instance:
- Select ENI → Actions → Detach
- ENI stays available, can attach to another instance
Important notes:
- ENI must be in same AZ as instance
- Can attach Elastic IP to ENI (not just instance)
- When instance terminates, primary ENI is deleted, secondary ENIs are detached (not deleted)
- Disable source/dest check for NAT instances, transparent proxies, etc.
- ENI keeps its configuration (IPs, security groups) when moved between instances
EC2 Hibernate
Hibernate saves the instance’s RAM to disk (EBS) before stopping. When you start it again, it restores everything exactly as it was - running processes, open files, network connections, etc.
What’s the difference?
Stop/Start:
- RAM is lost
- Instance reboots (fresh start)
- Takes longer to start
- Applications need to restart
Hibernate:
- RAM is saved to EBS
- Instance resumes exactly where it left off
- Faster startup (no reboot)
- Applications continue running
When to use it:
- Long-running applications that take time to start
- Applications with complex state that’s hard to restore
- Development/test environments (pause work, resume later)
- Cost savings: stop instances but keep state
Requirements:
- Instance type: C3, C4, C5, M3, M4, M5, R3, R4, R5 (and newer generations)
- Instance size: Not supported for bare metal instances
- Root volume: Must be EBS (not instance store)
- Root volume size: Must be at least RAM size + OS and applications space
- Example: 4 GB RAM instance needs root volume with at least 4 GB free space for RAM + space for OS/apps
- AWS recommends: RAM size + enough space for your OS and applications
- If root volume is full, hibernate will fail
- AMI: Must be Amazon Linux 2, Ubuntu 16.04+, or Windows Server 2016+
- RAM: Max 150 GB RAM (for the instance)
- Encryption: Root volume must be encrypted (RAM contents are saved to disk, so encryption is required)
How to enable:
- When launching:
- First, enable EBS encryption for root volume:
- Go to Storage section
- Under root volume, check Encrypt this volume (or use encrypted AMI)
- Or enable account-level default encryption (all new volumes encrypted automatically)
- Then go to Advanced details section
- Find Stop - Hibernate behavior
- Select Enable
- First, enable EBS encryption for root volume:
- On existing instance:
- Can’t enable hibernate on running instance
- Must create new instance with:
- Encrypted root volume (check “Encrypt this volume” or use encrypted AMI)
- Hibernate enabled in Advanced details
How to use:
- Hibernate: EC2 Console → Select instance → Instance state → Stop and hibernate
- Resume: EC2 Console → Select instance → Instance state → Start
How to test it:
- SSH into your instance and check uptime:
1
uptime
Note the uptime (e.g., “up 2 hours, 15 minutes”)
- Hibernate the instance:
- EC2 Console → Select instance → Instance state → Stop and hibernate
- Wait a few minutes
- Start the instance and check uptime again:
- EC2 Console → Instance state → Start
- Wait for running, then SSH back in
1
uptime
Result:
- If hibernate worked: Uptime continues from before (e.g., “up 2 hours, 20 minutes”) - no reboot happened
- If it was regular stop/start: Uptime resets (e.g., “up 2 minutes”) - instance rebooted
That’s the easiest way to verify hibernate worked - uptime doesn’t reset because there’s no reboot.
Important notes:
- Hibernate takes a few minutes (saving RAM to disk)
- Resume is faster than regular start (no reboot)
- Charges: You pay for EBS storage while hibernated (not compute)
- Limitations: Can’t hibernate if root volume is full, can’t hibernate Spot Instances
- Data: RAM contents saved to root volume, so make sure you have enough space
- Security: Root volume must be encrypted, so RAM contents are always encrypted when saved
- Networking: Private IP can change after hibernate (unless using Elastic IP)